

Post by Danosix on Jul 2, 2008 9:13:20 GMT
This forum section is looking a little lonely so I decided to make a rough guide through how I did my Chibi entry for the Chibi Contest. Now, I know my entry wasn't great and there may not be a lot from what you learn from this but perhaps it'll give you an insight into how I work. Personally I like to see how other artists work to pick up any techniques I can use myself.
Let's get cracking then.
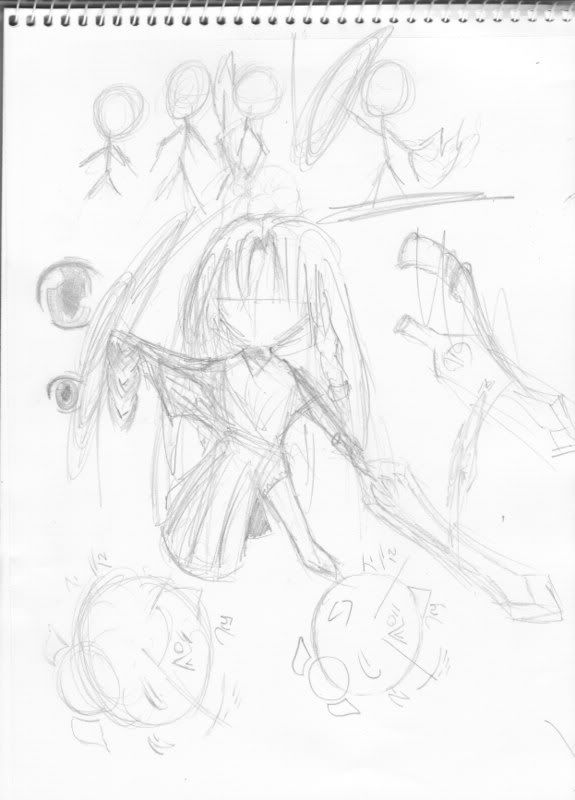
1. The sketch
I went into this contest not having a clue what to draw. I haven't drawn a chibi in months and I only scribbled some practice drawings down. When it came to the actual thing I simply did some stick-men to give me any idea of a good pose. Stick-men are fairly useful for chibi drawing since they pretty much have the same anatomy. Huge heads and little joint work. As I scrawl down the pose I want I make a larger version in the center of the page and try out some costume design quickly so I have a good idea of what to do when I do it digitally.
2. Re-sketch
This step was simple. Using Painter X and a tablet I re-sketched it in. (Sorry for it being very zoomed. I would have made it larger but photobucket sucks.) I left out the costume so I could make sure the anatomy was correct.

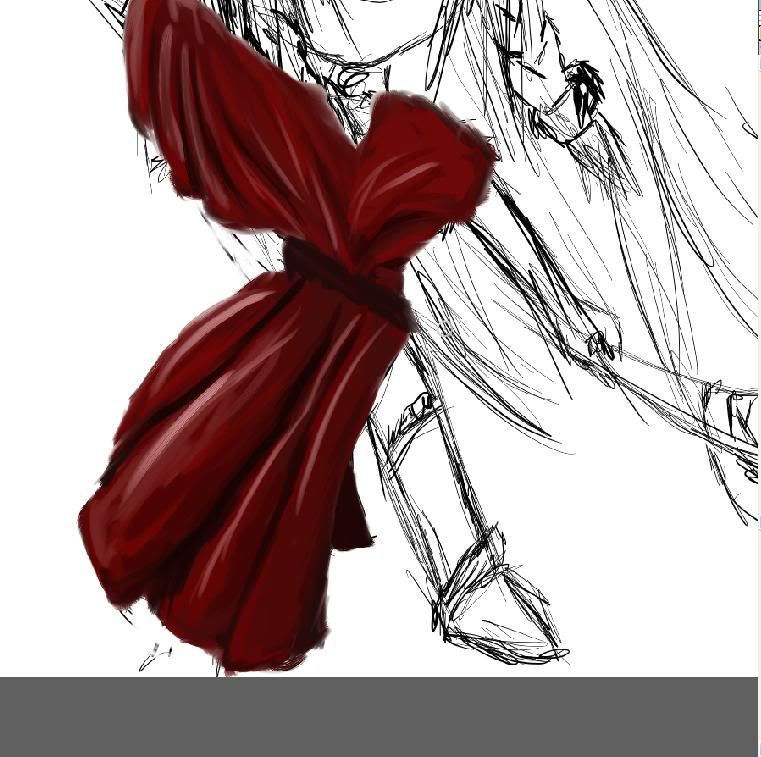
3. Clothing
In this step I added the clothing and defined it a bit more and worked on how I want it to look when it is finished.

4. Begin colouring
I don't really need to add a lot to the sketch since it will be painted over and I have a good idea in my head of how I want it to look so I began colouring the robe. I started by colouring it all red then mapped out the folds with a darker red so I know where the light will it is most.

5. More detail
I went into more detail adding the light and dark to the image to give the robe a more "clothy" feeling.
6. Belt
I changed my mind on just having a cord belt and wanted to make it more interesting so I enlarged it and added a metal pattern in it to give it a fantasy look. This belt isn't for practicality, it's for show.

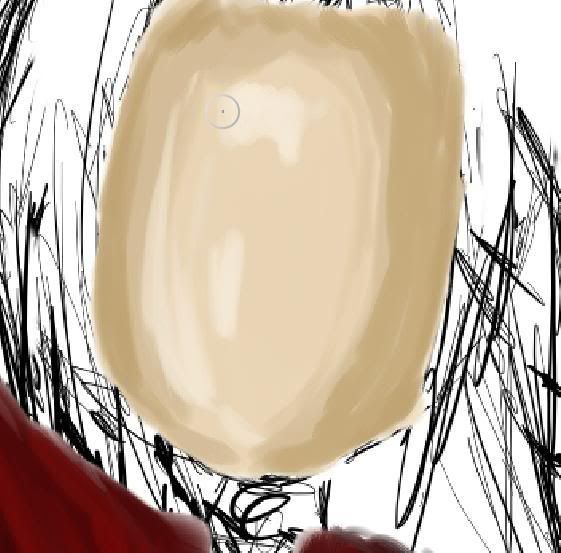
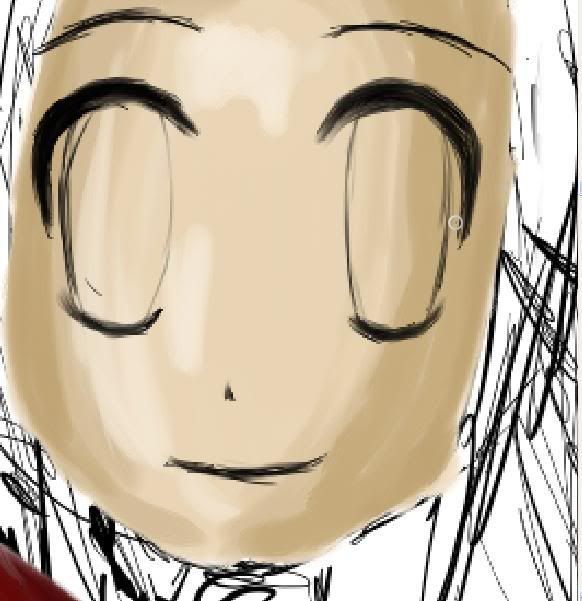
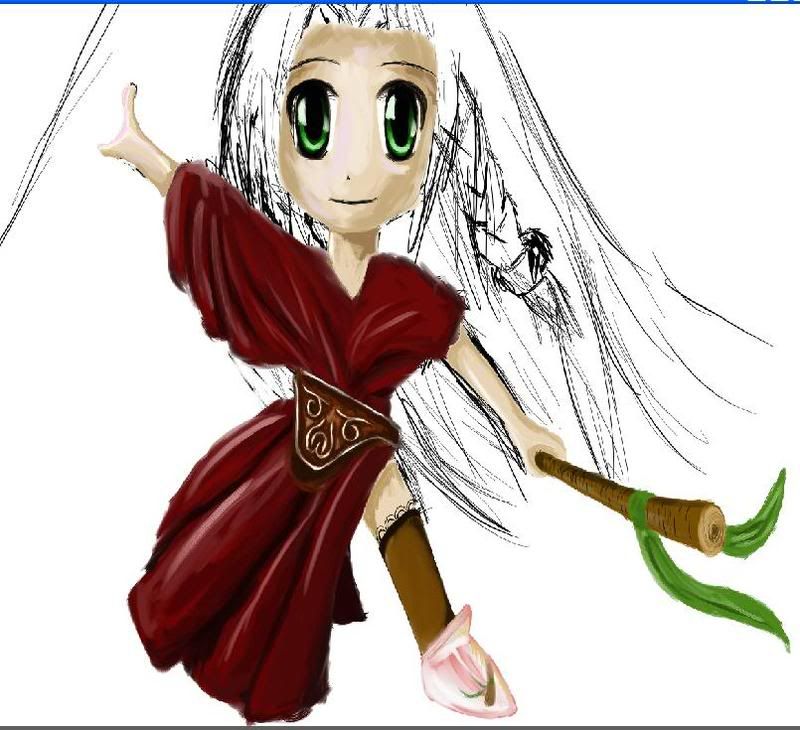
7. The face
I moved on to the face now and simply coloured the light and dark in roughly so that the face became more of an egg shell. It is easier to do the face this way instead of doing the features first and then having to painfully paint around the eyes, mouth and nose.
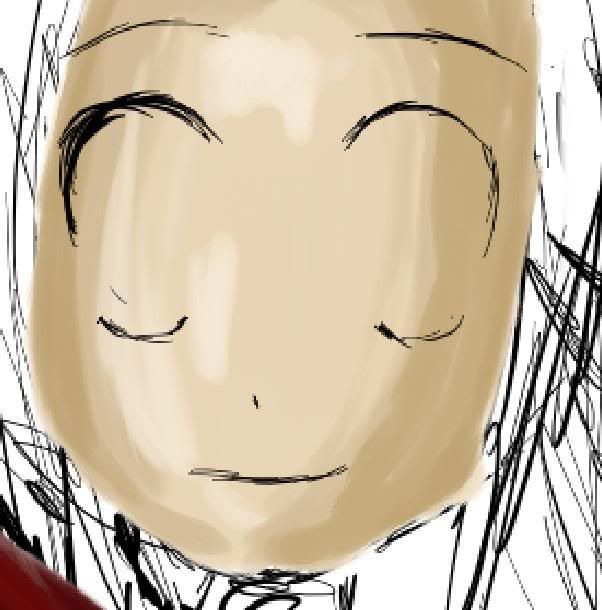
8. More face
I began sketching in the features now to get a good idea of what I want the expression to be. I was originally going to make her look cocky, aware that she is a powerful magic user but then I ditched the idea because I just cute faces. =3
Expanded
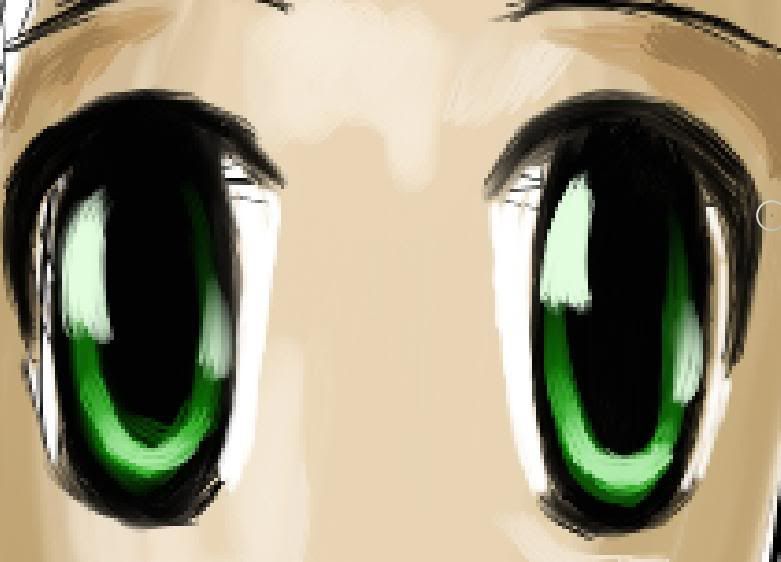
9. Coloured eyes
I could have gone into loads of detail making the eyes very shiny and eye catching like most manga/chibi artists do but this would steal the focus away from the entire picture. Most of the colours in the image aren't very bright apart from the magic itself and I wanted the magic to be bright to give the image a reason. SO, this eyes were just a basic paint job, not to bright.
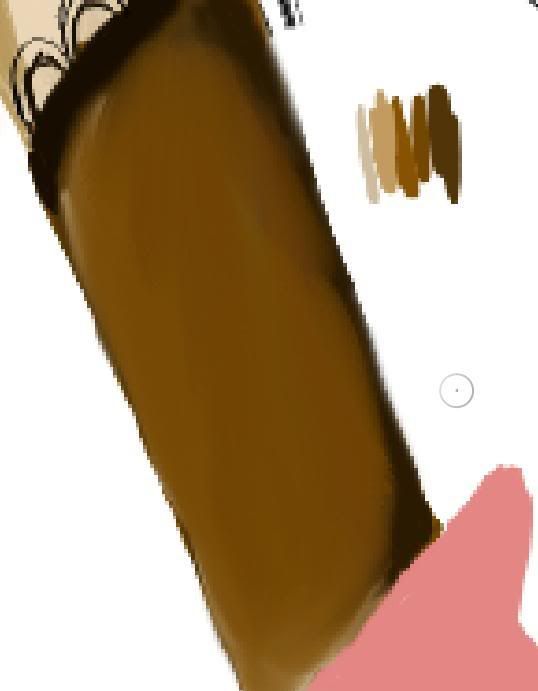
10. Quick paint-over.
In this step I quickly did a rough base colour over the arms, leg, neck and shoe. I went into more detail on the left arm (her right) because the magic was closest to it. I also added slight pieces of purple/pink bounce light to the tips of the fingers so I already had an idea of the colour of the magic rune.

11. Leg
Went into more detail on the leg and garter. I actually redid it a few times because I wasn't totally sure how it works when hit my the light. =x
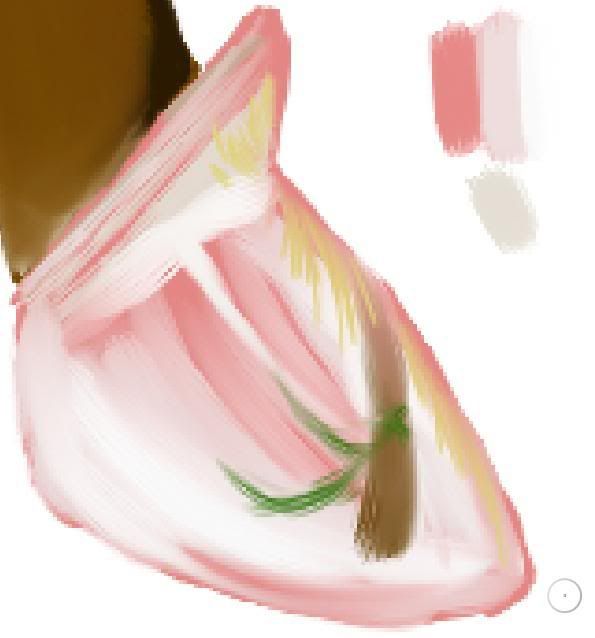
12. The bootie
I wanted the boot to look metal right from the start but I wasn't totally 100% on how to do it, especially since it is coloured metal (pink) so I did it as best as I thought it would look. Obviously adding reflection in it of the fair and stave (which I hadn't drawn yet so I go back and correct it later.)
13. The staff
The staff was fairly simple too. I curved it to give it a more 3D look and give the chibi a more powerful feel. It is only small but works. ^^
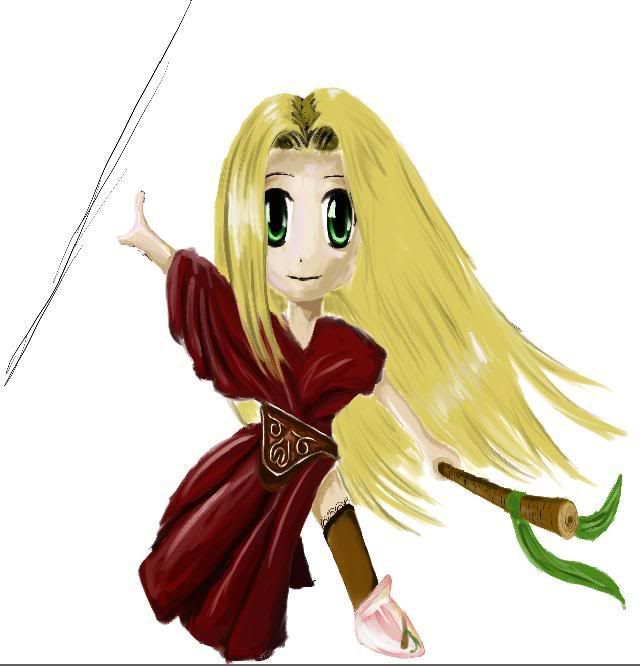
14. Hair
I wanted to make the hair look different to most chibi/manga styles. I wanted it to fit more with the rest of the colouring so I added more line to it and NO OUTLINE! Outlining your entire picture only works in some ways. Outlining your chibi/manga isn't always best. I also changed the direction the cloth is blowing in the reflection in the boot.
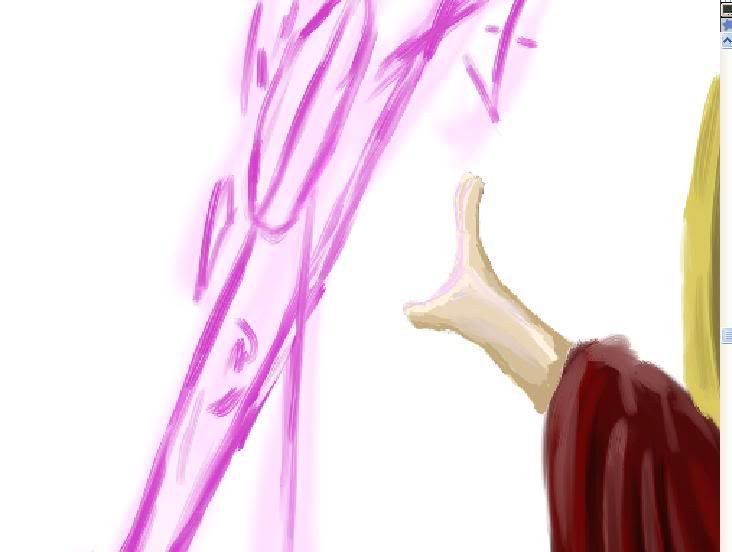
15. The magic
I then finally added the magic to the image. I did a quick sketch of this rune as you can see on my first image at the bottom.
16. And we're done
Tada!
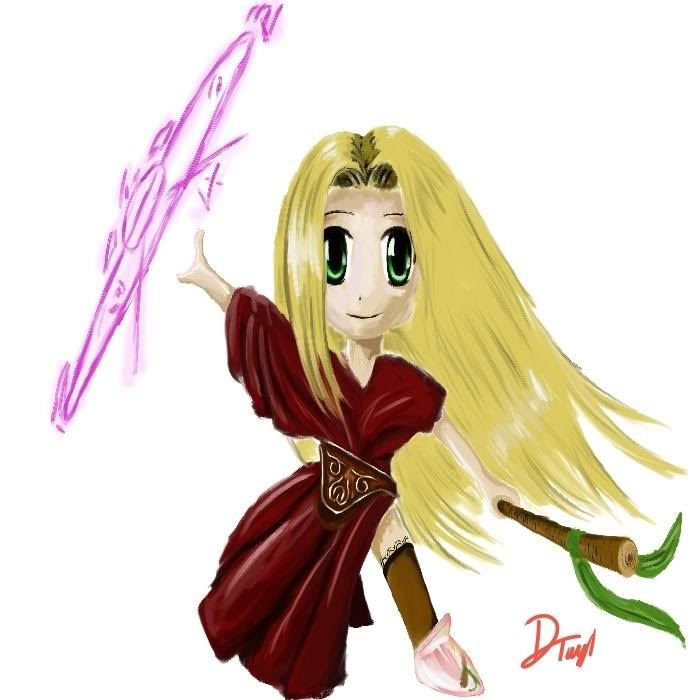
Personally I would like to add more bounce light from the rune onto the hair and face along with light from the robe onto the chin but I got restless and just submitted it.
Let's get cracking then.
1. The sketch
I went into this contest not having a clue what to draw. I haven't drawn a chibi in months and I only scribbled some practice drawings down. When it came to the actual thing I simply did some stick-men to give me any idea of a good pose. Stick-men are fairly useful for chibi drawing since they pretty much have the same anatomy. Huge heads and little joint work. As I scrawl down the pose I want I make a larger version in the center of the page and try out some costume design quickly so I have a good idea of what to do when I do it digitally.
2. Re-sketch
This step was simple. Using Painter X and a tablet I re-sketched it in. (Sorry for it being very zoomed. I would have made it larger but photobucket sucks.) I left out the costume so I could make sure the anatomy was correct.
3. Clothing
In this step I added the clothing and defined it a bit more and worked on how I want it to look when it is finished.
4. Begin colouring
I don't really need to add a lot to the sketch since it will be painted over and I have a good idea in my head of how I want it to look so I began colouring the robe. I started by colouring it all red then mapped out the folds with a darker red so I know where the light will it is most.
5. More detail
I went into more detail adding the light and dark to the image to give the robe a more "clothy" feeling.
6. Belt
I changed my mind on just having a cord belt and wanted to make it more interesting so I enlarged it and added a metal pattern in it to give it a fantasy look. This belt isn't for practicality, it's for show.

7. The face
I moved on to the face now and simply coloured the light and dark in roughly so that the face became more of an egg shell. It is easier to do the face this way instead of doing the features first and then having to painfully paint around the eyes, mouth and nose.
8. More face
I began sketching in the features now to get a good idea of what I want the expression to be. I was originally going to make her look cocky, aware that she is a powerful magic user but then I ditched the idea because I just cute faces. =3
Expanded
9. Coloured eyes
I could have gone into loads of detail making the eyes very shiny and eye catching like most manga/chibi artists do but this would steal the focus away from the entire picture. Most of the colours in the image aren't very bright apart from the magic itself and I wanted the magic to be bright to give the image a reason. SO, this eyes were just a basic paint job, not to bright.
10. Quick paint-over.
In this step I quickly did a rough base colour over the arms, leg, neck and shoe. I went into more detail on the left arm (her right) because the magic was closest to it. I also added slight pieces of purple/pink bounce light to the tips of the fingers so I already had an idea of the colour of the magic rune.
11. Leg
Went into more detail on the leg and garter. I actually redid it a few times because I wasn't totally sure how it works when hit my the light. =x
12. The bootie
I wanted the boot to look metal right from the start but I wasn't totally 100% on how to do it, especially since it is coloured metal (pink) so I did it as best as I thought it would look. Obviously adding reflection in it of the fair and stave (which I hadn't drawn yet so I go back and correct it later.)
13. The staff
The staff was fairly simple too. I curved it to give it a more 3D look and give the chibi a more powerful feel. It is only small but works. ^^
14. Hair
I wanted to make the hair look different to most chibi/manga styles. I wanted it to fit more with the rest of the colouring so I added more line to it and NO OUTLINE! Outlining your entire picture only works in some ways. Outlining your chibi/manga isn't always best. I also changed the direction the cloth is blowing in the reflection in the boot.
15. The magic
I then finally added the magic to the image. I did a quick sketch of this rune as you can see on my first image at the bottom.
16. And we're done
Tada!
Personally I would like to add more bounce light from the rune onto the hair and face along with light from the robe onto the chin but I got restless and just submitted it.


